Information Design (Exercises)
Information Design (Exercises)
Dea Natasha Binti Mohd Khairul Fauzi (0368610)
03/02/2025 - 23/02/2025 (Week 01 - Week 03)
Bachelor of Design (Hons) in Creative Media
Exercise 1 - Quantifiable Information
Dea Natasha Binti Mohd Khairul Fauzi (0368610)
03/02/2025 - 23/02/2025 (Week 01 - Week 03)
Bachelor of Design (Hons) in Creative Media
Exercise 1 - Quantifiable Information
Exercise 2 - L.A.T.C.H


I also found a website that would help me a lot when gathering
information.


Finally, I added the label on the right side which has the depth and names of each of the five ocean zones.
1 INSTRUCTION
2 LECTURE
Week 1 (03/02/2025) :
We will have 2 exercises and 2 projects. Project 2 will be group
project while others are individual.
Create an e-portfolio or blog for all exercises and projects.
Next class, bring a white A3 paper, marker pens and objects that can
be categorised like lego, buttons or coins.
Create a group with maximum 10 people for the group project.
Week 2 (10/02/2025) :
L.A.T.C.H Theory is used to organise information by Location,
Alphabet, Time, Category or Hierarchy.
Choose a topic and organise the information using the L.A.T.C.H
Theory.
Turn the information into an infographic poster.
Week 3 (17/02/2025) :
For the first part of Project 1, look for an existing infographic
poster online that you think you can improve
Sketch out your ideas, show it in the next class
For the second part of Project 1, the final poster has to have
minimal animation
3 EXERCISE 1
3.1 Gathering the Lego Bricks
Week 01 (04/02/2025)
On our first physical class, we brought various items that could be
given different categories such as shape, colour and size. Some of the
items my classmates and I brought were buttons, coins, puff balls,
candies and beads. I brought mini Lego bricks.
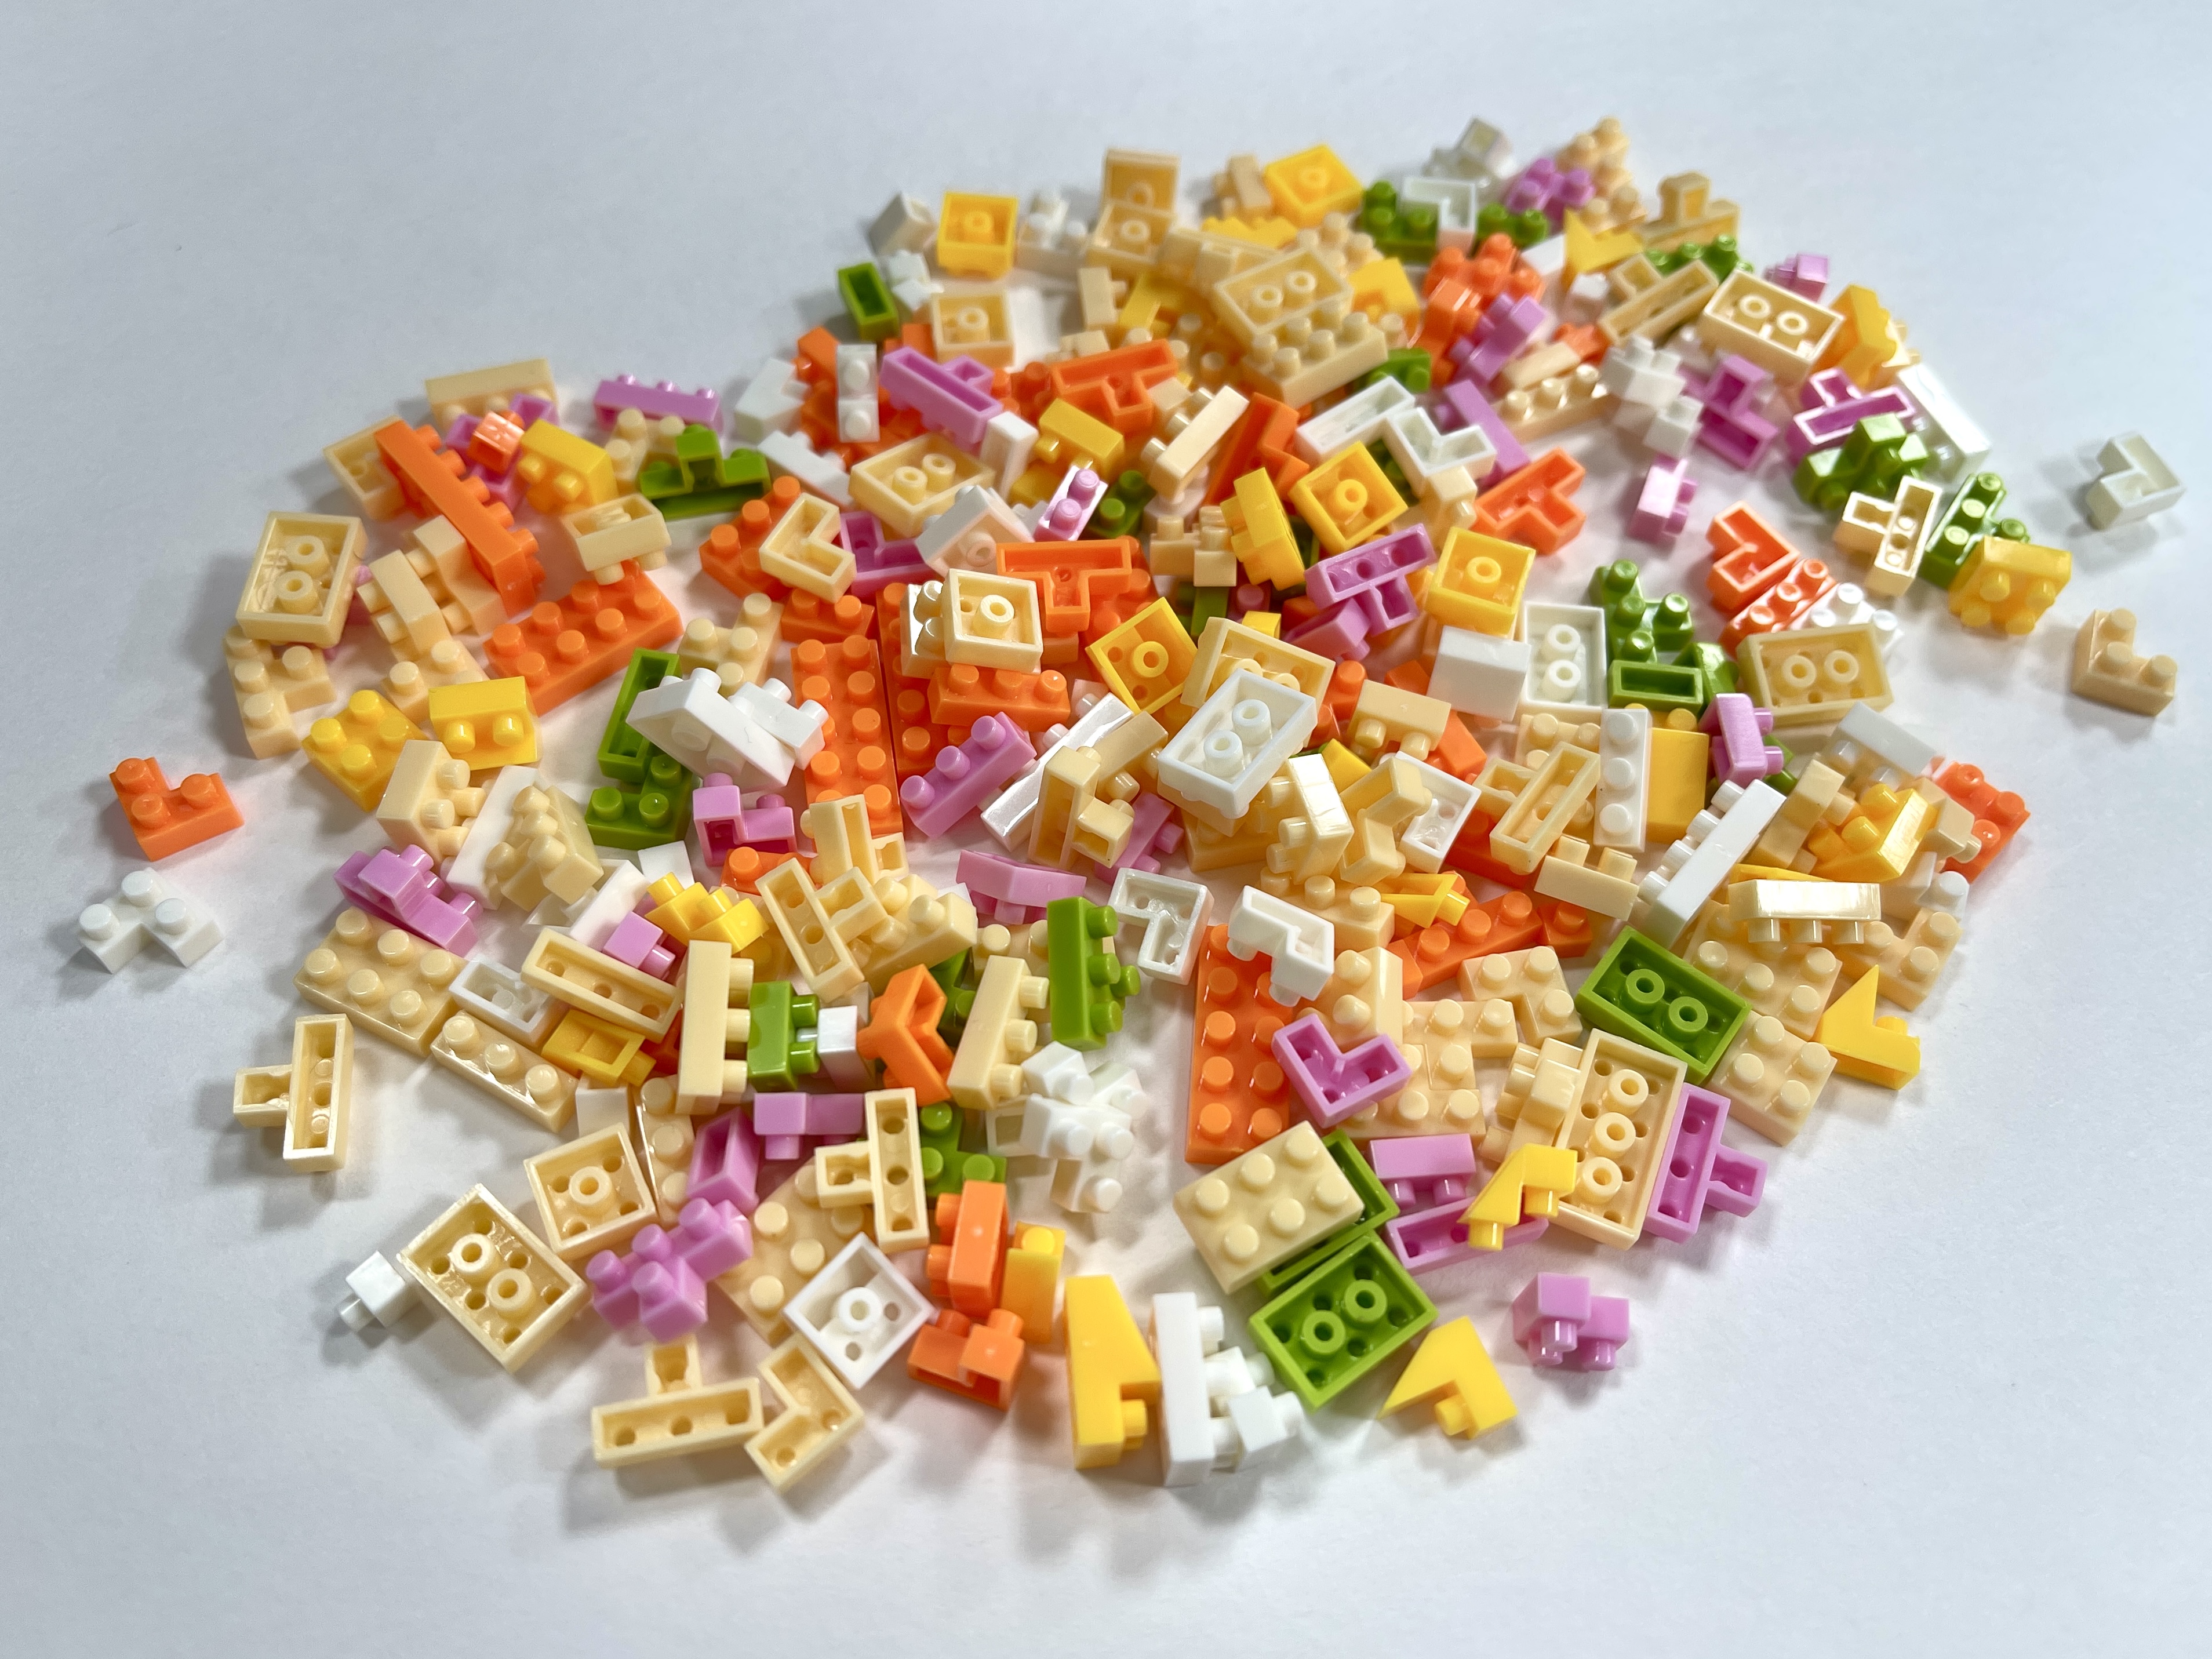
First, I gathered all my Legos in a single pile. We can already see
the differences in the pile such as shape, colour and size. I
planned to sort them into different colours first.
3.2 Sorting the Lego Bricks
Week 01 (04/02/2025)

After sorting the Legos according to their colours, I could see
that they all have different amounts. Some colours have shapes
that other colours are lacking. Some shapes are a lot and some are
so little.
3.3 Arranging the Lego Bricks
Week 01 (04/02/2025)

I arranged the Legos from biggest to lowest shape quantity in
their respective colour groups. Some shapes have a very large
quantity which caused me to arrange them in two columns. After
that, I labeled the colours and added the title.
3.4 Final Submission

|
| Various Lego bricks |
4 EXERCISE 2
This week, our task is to choose one topic, gather information about
it and create a L.A.T.C.H infographic poster about the chosen
topic.
4.1 Visual references
Week 02 (10/02/2025)
I decided to make an infographic poster about what ocean creatures
live in each of the ocean zones. I started by looking for rerefence
pictures.


4.2 Information
Week 02 (10/02/2025)
I gathered some information that I want to include in my poster such
as the scientific names of the ocean zones, the depth of each ocean
zone and what kind of animals live there. Since there are lots of
animals that live in each zone, I decided to choose three animals for
each zone.
4.3 Sketches
Week 03 (18/02/2025)
After that, I began sketching out the layout ideas for my poster.
 |
| Sketch 1 |
 |
| Sketch 2 |
 |
| Sketch 3 |
 |
| Sketch 4 |
 |
| Sketch 5 |
4.4 Editing Process
Week 03 (18/02/2025)
After sketching out the ideas, I proceeded with Sketch 3.

I started by drawing the background first. I used various shades of blue to show the different depths of the ocean.

After that, I removed the background from each of the ocean creatures' pictures. I then placed the pictures in the grids I created.

I wrote the names and the locations where each ocean creature could be found under the pictures.

Finally, I added the label on the right side which has the depth and names of each of the five ocean zones.
4.5 Final Submission

5 FEEDBACK
Week 01 (04/02/2025) :
The arrangements look very complicated, but so nice and clean
Consider writing the number of the Lego pieces on the paper
Week 03 (18/02/2025) :
Look for more references
Do another at least 2 sketches
6 REFLECTION
The first exercise helped me understand different ways to categorise certain items. I managed to arrange my Lego bricks according to shape, colour and quantity.
The second exercise allows me to understand the layout of an infographic poster. I learned how to find important information that should be placed in a poster. By identifying the important info, I am able to create a visually engaging infographic poster.
.
.
.
THE END
.
.
.


Comments
Post a Comment